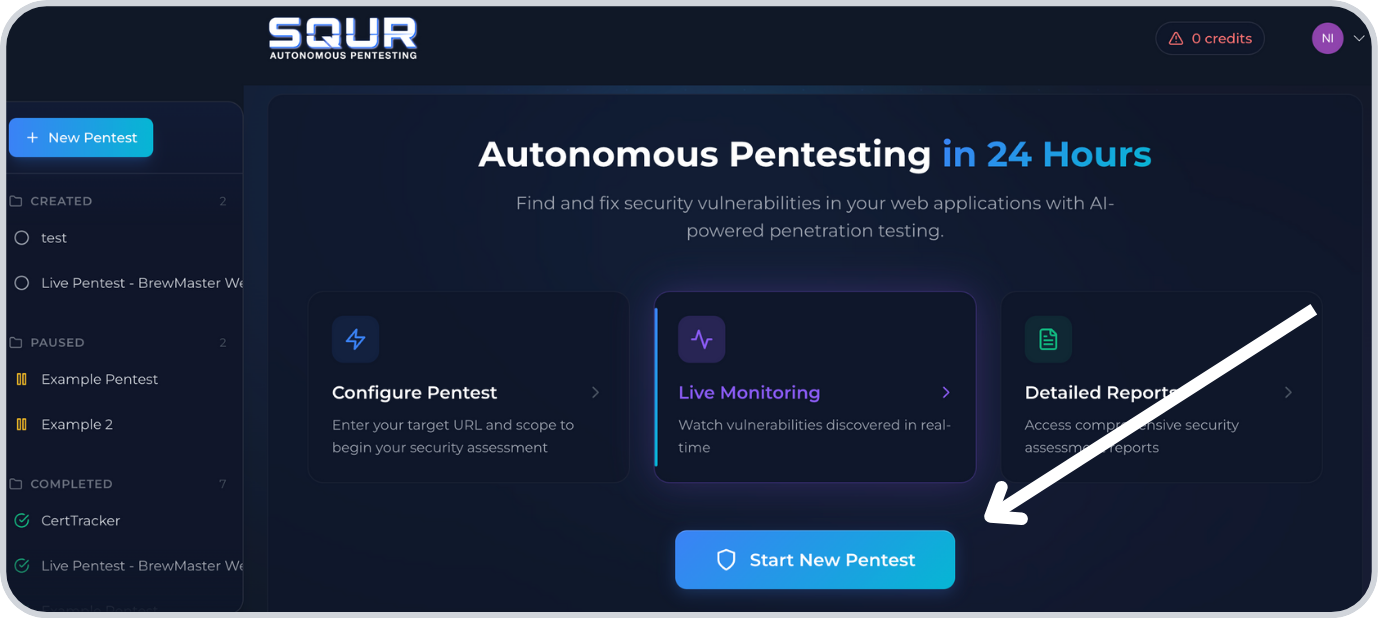
Configure a pentest
Step 1: Click Start New Pentest
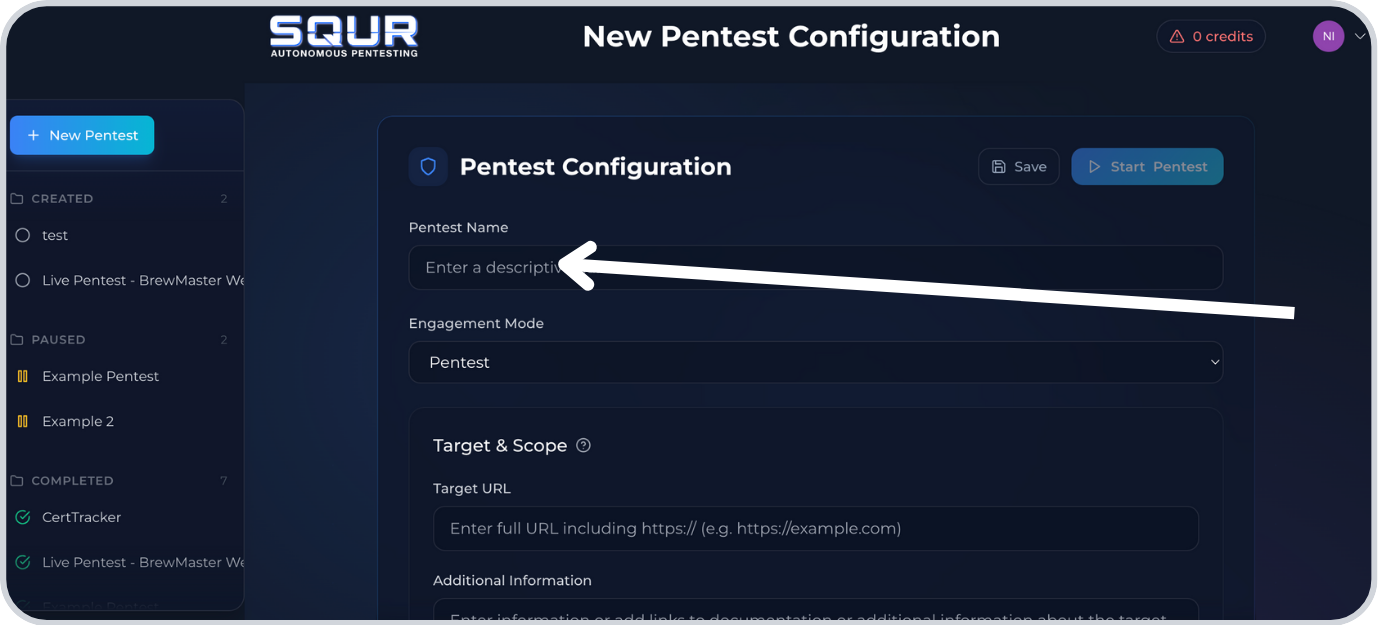
Step 2: Enter a pentest name to keep assessments organized
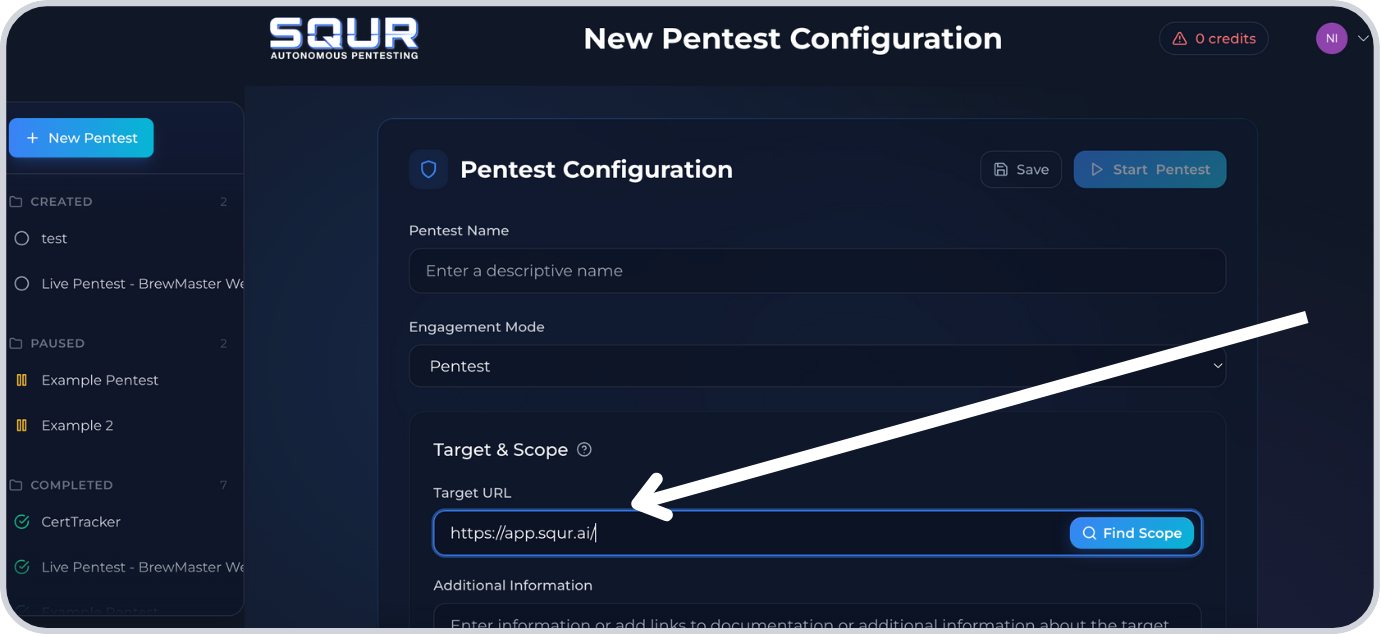
Step 3: Enter the primary target URL or domain
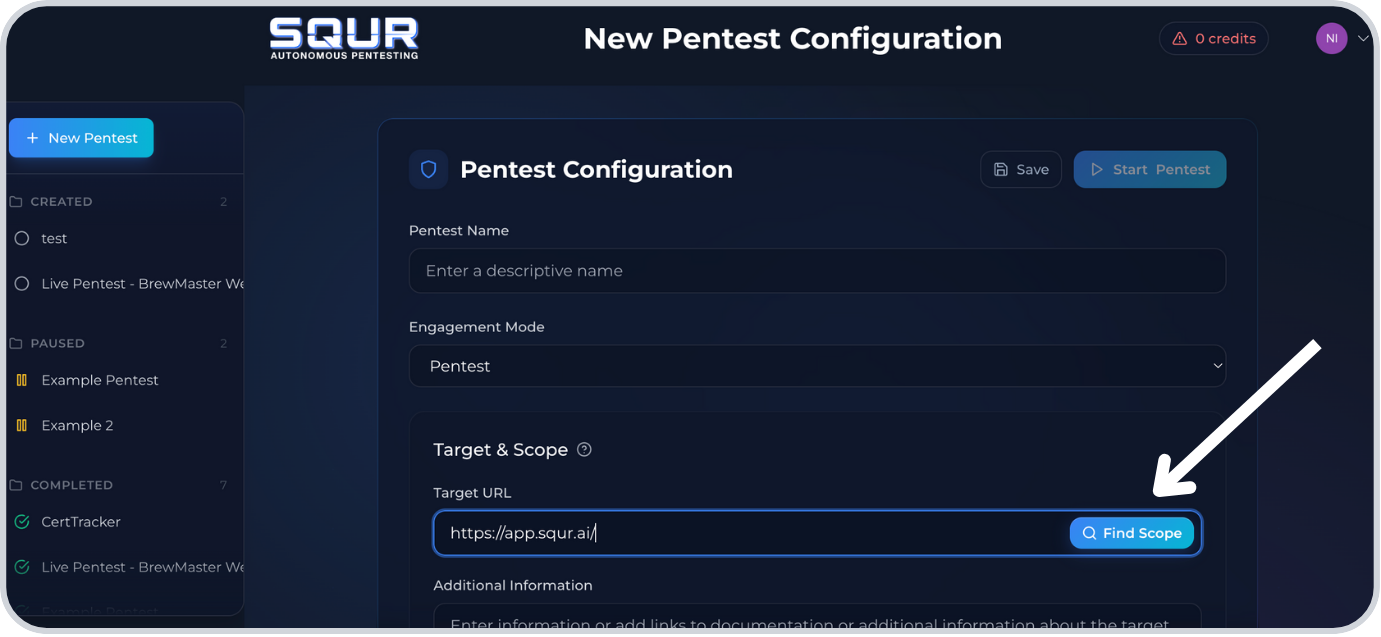
Step 4: Click Find Scope to discover the testing scope
Step 5: Confirm target url and define pentest type
Step 6: Choose a secondary target from the dropdown, and define pentest type
Step 7: If relevant, add specific URLs you wish to be excluded
Step 8: Click Add Account to include credentials
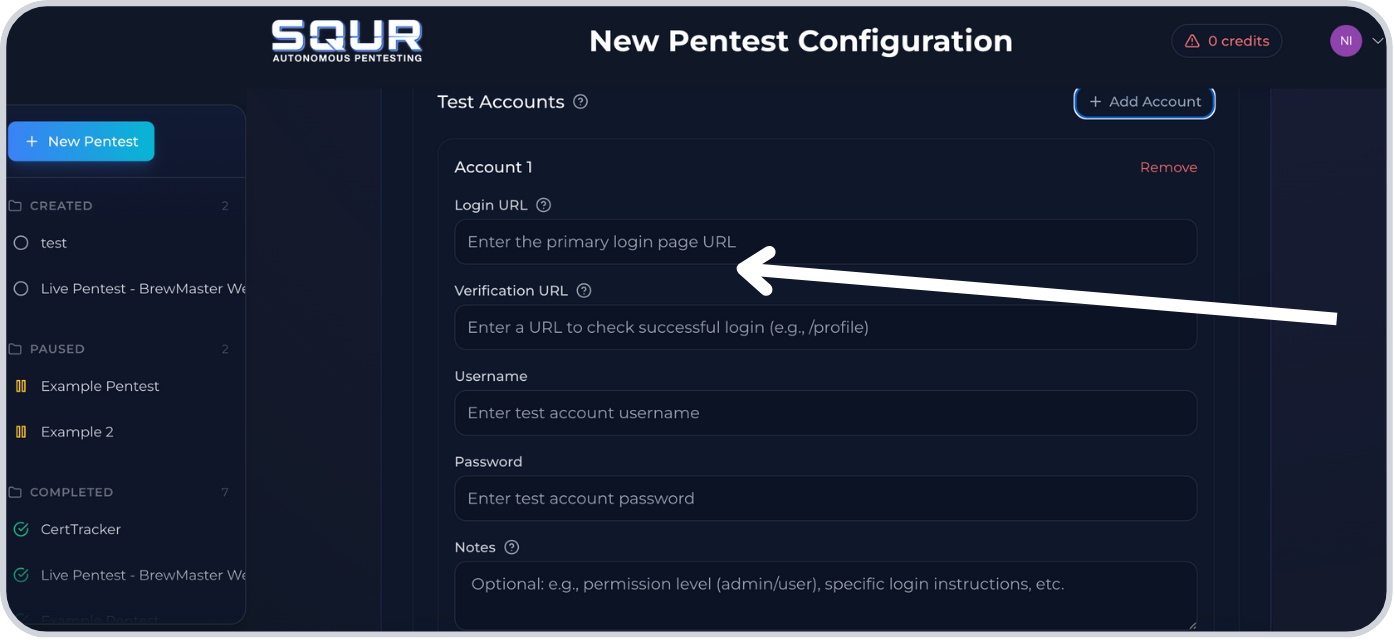
Step 9: Enter the login page URL for authenticated testing
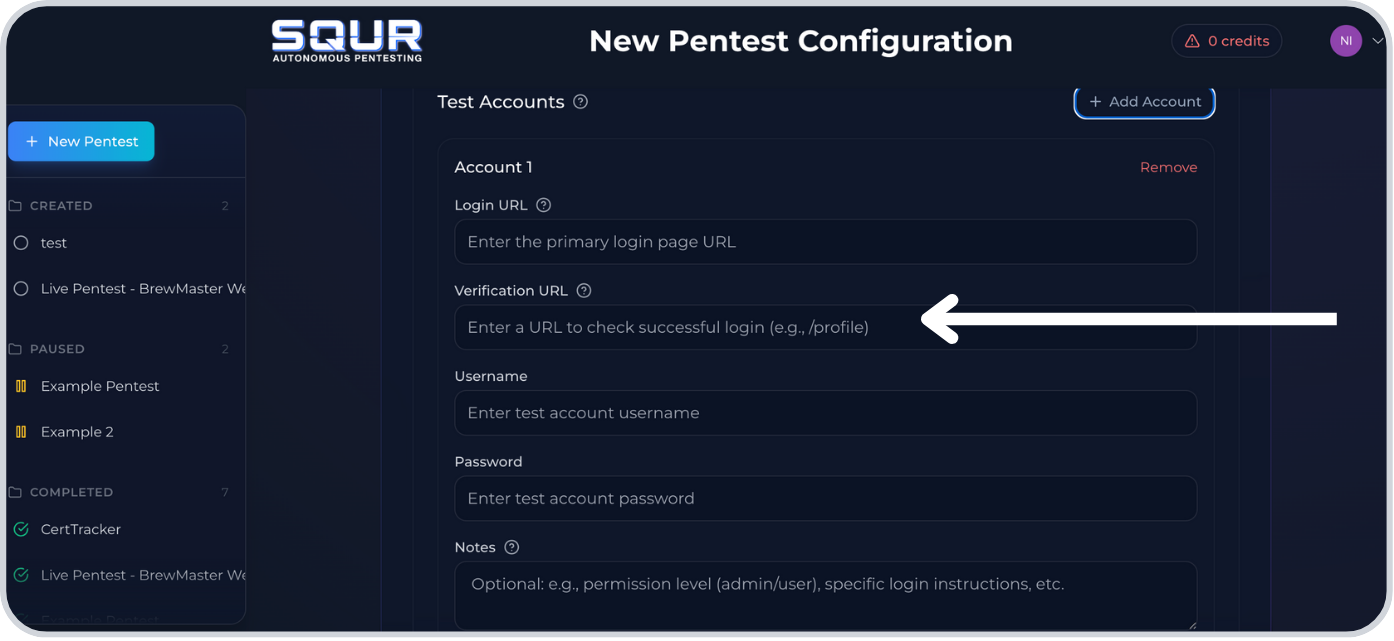
Step 10: Enter a post-login verification URL (any page available only after login)
Step 11: Enter the username or email for this test account
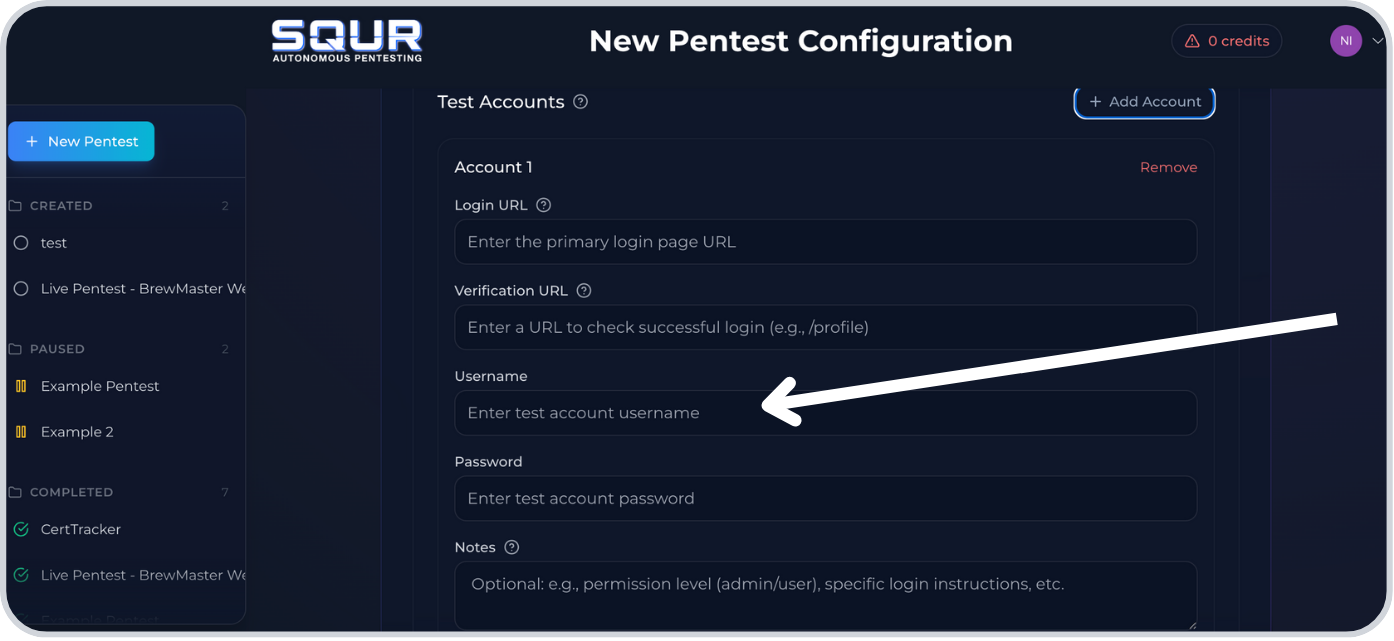
Step 12: Enter the password for this test account

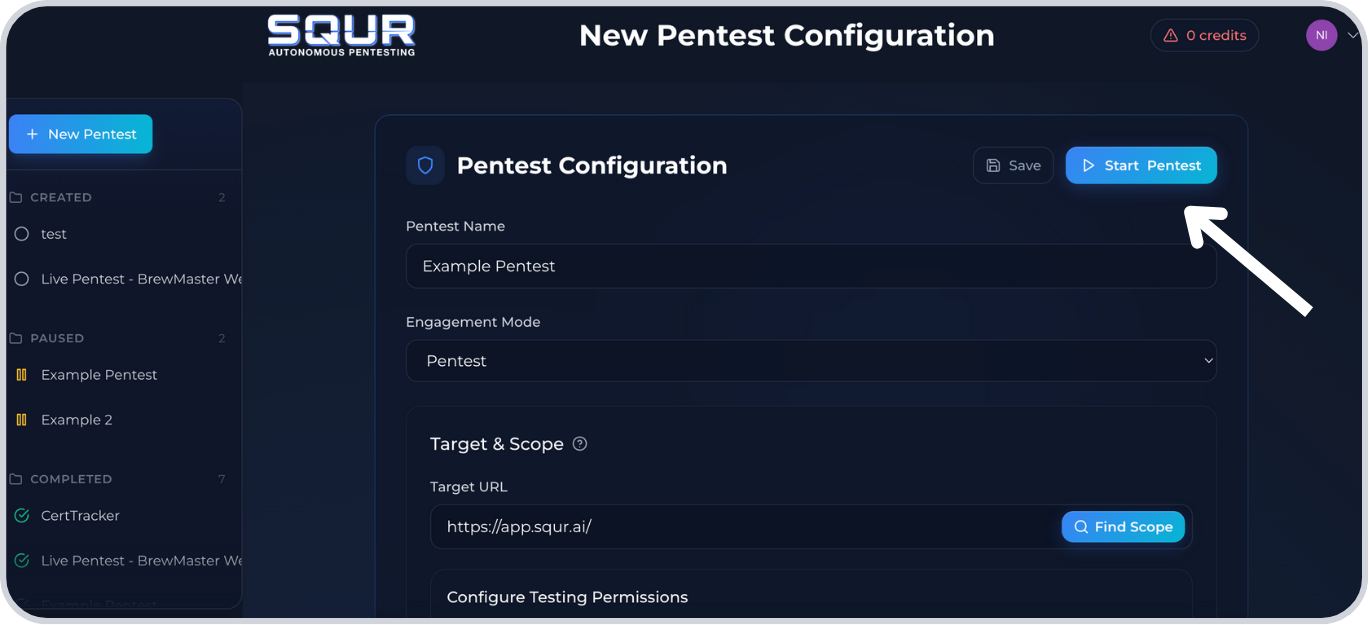
Step 13: Click Start Pentest
Success checklist
- Pentest starts successfully and appears in Active Pentest.
- Findings begin to appear in Remediation.